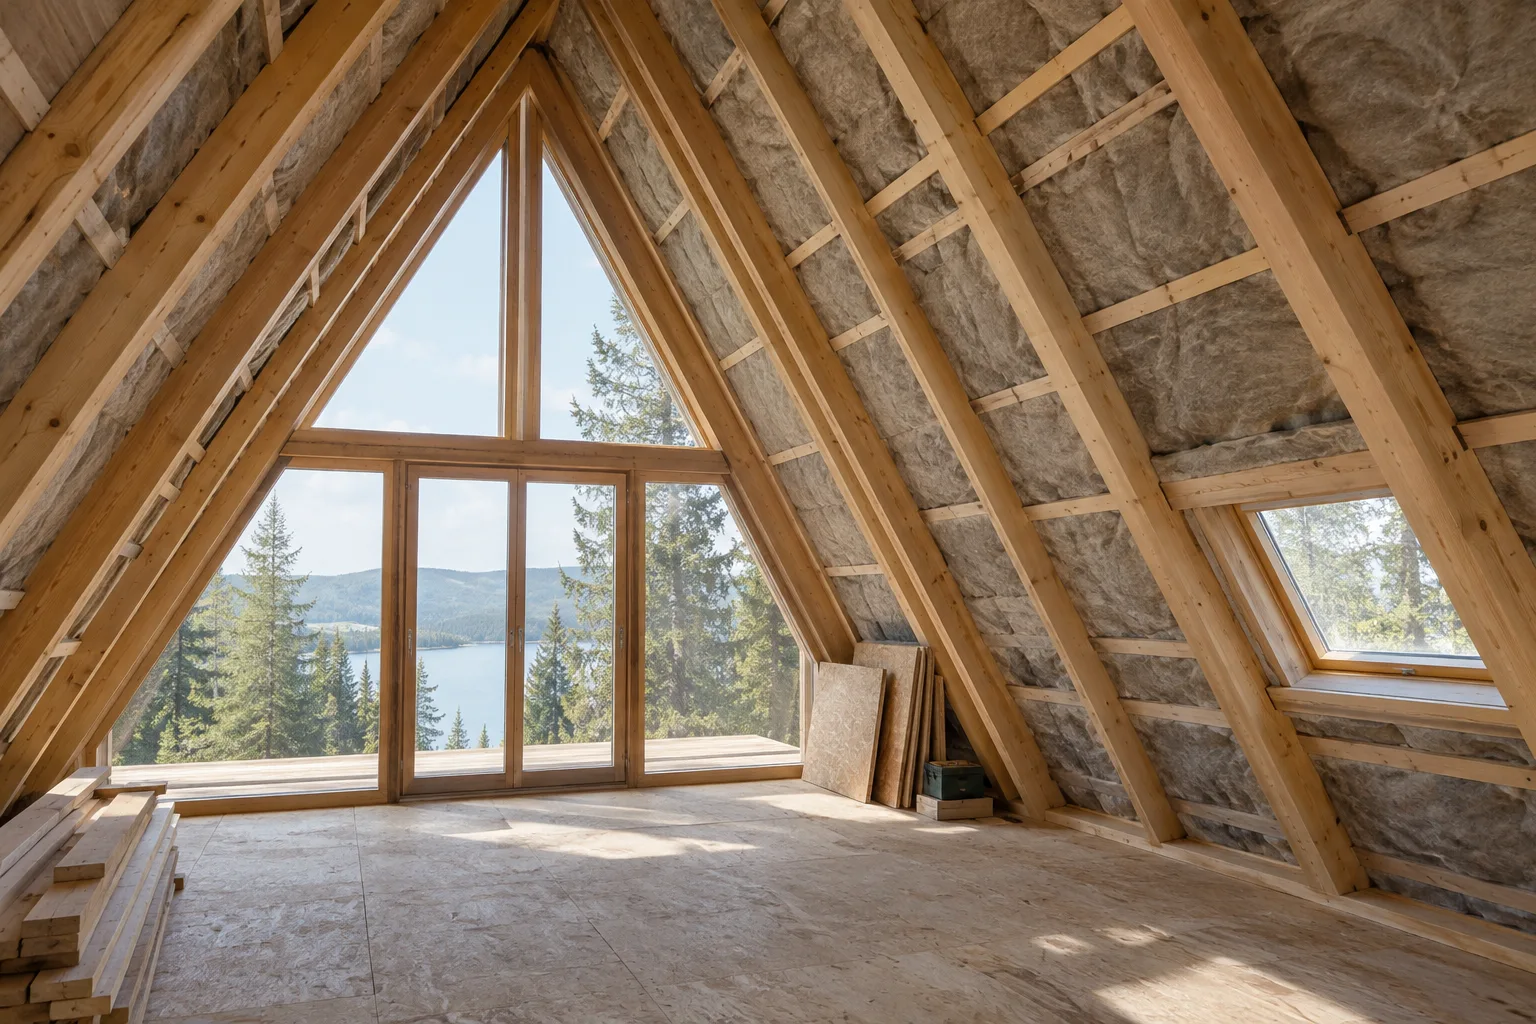
A frame cabin insulation should be designed around the complete sloping roof assembly, not just the spaces between rafters. Establish the climate, retained layers, air and moisture strategy, roof-to-floor junctions and required interior clearance. The best material is the one that fits a professionally reviewed assembly and can be installed and verified at the difficult edges.
Introduction: the roof is also most of the room's enclosure
An A-frame's sloping roof reaches into the space where a conventional cabin would have vertical walls. That attractive geometry makes roof decisions visible inside the room: extra layers can change usable headroom, deep window reveals can alter daylight, and an unresolved roof edge can be difficult to reach after furniture is installed. Roof insulation is therefore a layout and construction decision as well as a material purchase.
This guide is for buyers, designers and refurbishment coordinators preparing an A-frame specification. It addresses procurement and review, not a buildable roof detail or a universal insulation thickness. All examples are illustrative. A qualified local team must assess the structure, weathering, fire requirements and moisture behaviour of the actual assembly before work proceeds.
1. Draw the complete A frame cabin insulation section
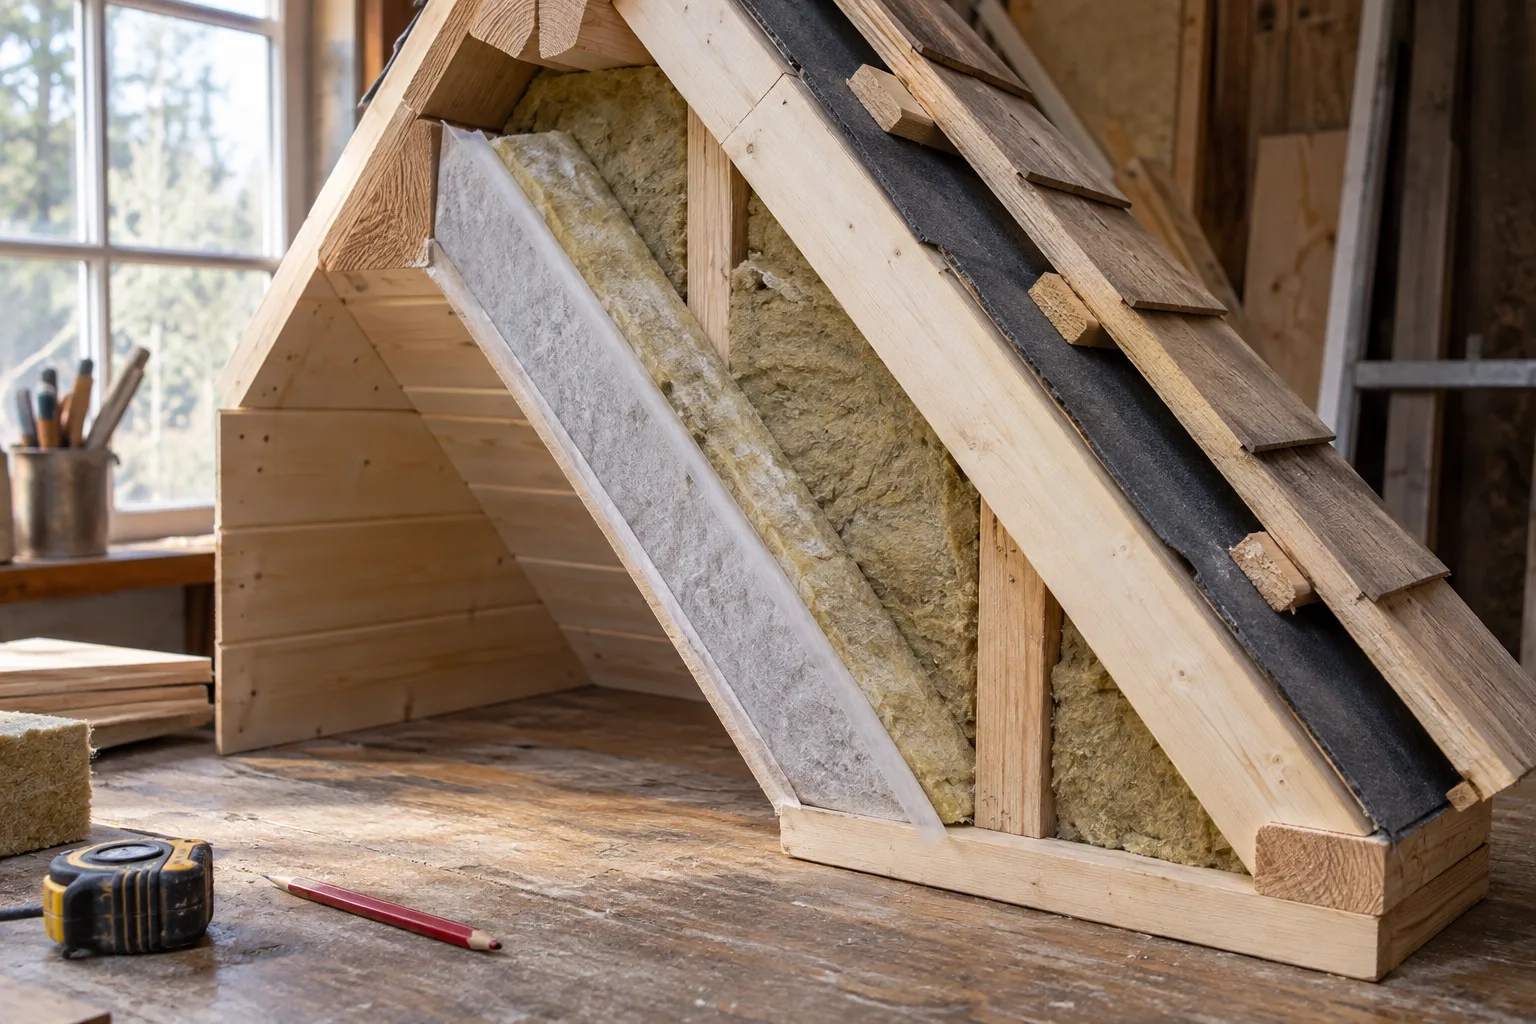
Start with a section showing the roof covering, supporting layers, cavities, insulation, air-control and moisture-control layers, service space and interior lining. Name the layers that actually exist in a retrofit rather than copying a new-build catalogue drawing. If information is missing, agree how the survey will establish it without unsafe access or unnecessary damage.
Identify where the conditioned enclosure runs. Does it follow the full roof slope, stop at a horizontal ceiling, or enclose a loft with separate voids? Those options do not have the same area, junctions or inspection access. Ask the designer to explain the chosen boundary before comparing insulation quantities. A material order based only on the cabin's floor area can miss this basic distinction.
Retain one coordinated section as the reference for supplier and installer discussions. Mark revisions when a roof covering, rafter depth, window or lining changes. Small product substitutions can affect several layers. Do not let the roofing contractor, insulation installer and interior fitter proceed from different versions of what appears to be the same A-frame design.
Further reading: Review the A-frame document package.
2. Define the destination and occupancy pattern
Describe the climate and intended use accurately. A cabin occupied occasionally for daytime work has a different operating pattern from accommodation used throughout the year. Include expected guest numbers, cooking and bathing arrangements, heating schedules and periods of vacancy. These details help the design team evaluate the enclosure and services together rather than treating insulation as a standalone cure for discomfort.
Ask which local design criteria and adopted building requirements the proposal uses. Do not transfer another country's recommended roof value directly into an order. The Department of Energy's insulation material overview explains that application and location matter; it does not certify an overseas A-frame package for every climate or occupancy. Obtain the project-specific assessment and record its assumptions.
Where a supplier offers a winter package, ask for its exact layers and evidence. Does the name identify a different roof assembly, selected glazing and coordinated services, or merely a thicker insulation product? Compare the documented package with the local brief. A label should lead to a specification, not substitute for one.
Further reading: Department of Energy: insulation applications.
3. Resolve the roof's wetting and drying strategy
Ask the designer how rain, indoor moisture and construction moisture are addressed in the proposed roof. A roof can look dry from inside while an inaccessible layer needs investigation. In a retrofit, record leaks and previous repairs before fitting insulation. Do not use a new lining to hide unresolved staining or assume that an additional membrane automatically improves the situation.
The US Environmental Protection Agency's moisture-control guidance includes roof and ceiling assemblies alongside ventilation and other building systems. Its relevant lesson for a buyer is coordination: request a complete explanation and verification plan. The appropriate layer arrangement depends on the actual climate, materials and retained construction; this article deliberately does not prescribe a universal vapour-control position.
Clarify whether the proposed design uses a ventilated roof cavity and how its continuity is achieved at the eaves, ridge and interruptions. Do not create or block openings without the designer's direction. Ask how the contractor will demonstrate the intended paths before closing the roof. Photographs of accessible details can support inspection records, but they are not a substitute for professional acceptance.
Further reading: EPA: moisture control for roofs and building services.
4. Compare the best insulation for a frame cabin by assembly fit
Compare product form, declared properties, thickness, facing and installation requirements. Ask how the material fits irregular spaces and how the design addresses rafters and other interruptions. A high material rating is not the same as the performance of a roof containing joints, framing and penetrations. Request the whole-assembly assessment where performance is being claimed.
Consider access during installation and later repairs. A solution that is straightforward in an open new structure may be difficult to verify in a roof with retained finishes. Ask which areas must be opened and whether the proposal affects roof replacement or concealed services. Compare these practical consequences before choosing a product simply because it appears to reduce the lining thickness.
For sprayed products, obtain a professionally specified system and competent installation arrangements rather than treating them as a way to fill every unknown void. For boards or batts, ask for the required fit and junction details. In each case, the order should identify protective layers, fixings, compatible accessories and limitations, not only the primary insulation material.
Further reading: Compare general cabin insulation material questions.
Turn these questions into a project brief
Share the destination, intended season of use, roof section and preferred interior finish. Ask for the supply details your local designer needs to review.
5. Check usable headroom before increasing internal layers
An extra internal layer moves the finished roof surface into the room. The practical effect is easiest to understand on a dimensioned section showing the bed, desk, stairs and circulation route. Do not compare only gross floor area. A long strip beside the eaves may be useful for storage but unsuitable for standing or for the furniture arrangement shown in an attractive rendering.
Use the actual roof angle and finished layers when the designer calculates clearances. As an illustrative measurement exercise, mark several points across the floor and record the existing and proposed finished heights at each point. The numbers should come from the specific section, not a generic online formula. The local reviewer determines which areas count toward required room dimensions.
A roof upgrade can also affect a loft edge, guard connection or stair landing. Have those interfaces reviewed before purchasing interior finishes. Do not alter structural members to regain headroom without an engineered design. If the preferred build-up leaves insufficient usable space, revisit the overall retrofit approach rather than assuming a thinner advertised product solves every requirement.
Further reading: Plan usable A-frame interior space.
6. Give the eaves, ridge and gable connections their own details
The broad roof field is only part of the work. Ask how insulation and the intended air-control layer continue where the slope meets the floor, gable wall or opening. These locations can be awkward to reach and easy to omit from a material-only quotation. Request detail drawings and a description of which trade completes each connection.
Timber movement should be considered where a lining, roof structure or adjoining wall meets a component with different behaviour. The Forest Service's dimensional-change reference explains that timber remains responsive to moisture after installation. Use the system designer's details for the actual connections; a general statement about movement does not provide a fixing schedule.
If roof windows or flues are proposed, obtain coordinated supplier and professional details before the roof order is fixed. They affect more than appearance. Avoid site improvisation around clearances, weathering or fire-related requirements. List each penetration in the scope and identify who supplies its compatible components, installs it and verifies the finished result.
Further reading: Forest Service: timber dimensional change in service.
7. Distinguish how to insulate a cabin ceiling from a sloping roof
A horizontal ceiling below an unconditioned roof void is not the same assembly as insulation following the roof slope. The location of the thermal boundary affects the volume being conditioned and the treatment of hatches, services and adjoining walls. State which arrangement the proposal uses so the supplier does not quote for one while the interior designer draws the other.
Ask how any retained void will remain accessible and how necessary ventilation or service routes are protected. Do not assume unused space can be filled without review. Lighting, wiring and heating-related components may impose product-specific requirements. Qualified trades should assess the actual equipment and coordinate it with the approved enclosure design.
For a hypothetical cabin with a loft over part of the floor, the designer may need several related sections rather than one repetitive roof detail. A ceiling over a bathroom, an open living space and the loft roof can meet differently. Give these transitions their own drawing references and inspection points so they are not lost in a single square-metre insulation quantity.
8. Compare A frame cabin roof insulation quotations completely
Normalize the quotes to the same finished roof and review boundary. Include surveys, opening-up work, repairs, access equipment, insulation, membranes, compatible accessories, lining, service alterations and reinstatement. Ask whether the price includes the difficult eave and ridge details. A quote that covers only readily accessible roof area may leave a substantial part of the project unresolved.
Record any assumptions about retained materials and weather protection. If a roof covering must be removed, the work sequence and temporary protection require professional planning. Do not treat favorable weather as the only contingency. Identify who can approve a repair discovered during opening-up and how the buyer will receive a revised cost before concealed work continues.
Do not accept a universal savings percentage or a promised payback without a stated calculation basis. The Department of Energy presents energy assessment as a way to identify opportunities in an existing building. A useful project estimate should be tied to the actual cabin and operating assumptions, then kept separate from later measured consumption.
Further reading: Department of Energy: assess the existing building before upgrades.
| Review item | Question for the quotation | Retained record |
|---|---|---|
| Existing roof | Which layers are verified? | Survey and opening-up findings |
| Enclosure design | Where is the conditioned boundary? | Approved sections and junctions |
| Materials | Are all compatible accessories included? | Named product schedule |
| Interior space | What are the finished clearances? | Dimensioned furniture and loft sections |
| Acceptance | What is checked before lining? | Inspection plan and completion evidence |
9. Verify the installation while important details remain visible
Agree inspection stages before work starts. For example, the team can identify checkpoints after necessary repairs, after the insulation and control layers are installed, and before final linings conceal the work. These are illustrative stages, not a prescribed inspection regime. The responsible professionals should determine the actual sequence and acceptance evidence for the selected system.
Separate factory testing from site workmanship checks. A manufacturer's product record can support material selection, while shipment inspection checks identity and delivered condition. Neither confirms that a narrow eave junction was completed correctly on site. Ask for records appropriate to each stage and make sure any reported exception has an owner and a resolution.
Handover should include the final roof section, product references, relevant service documentation and instructions for future alterations. An operator adding lighting later needs to know where critical layers are located. Record customer requirements that remain conditional, such as winter occupancy or a future loft change, rather than presenting the finished lining as approval for every intended use.
Practical buyer workshop
Agree a before-close roof review
Ask the design and installation team to identify what must be visible before the internal roof finish is closed. The list should relate to the actual assembly, including the specified layers, junctions and service penetrations. Do not invent an inspection checklist that overrides the professional design. Instead, ask who will verify each relevant item and which records should be retained.
For a hypothetical A-frame refurbishment, a late lighting change might introduce new penetrations in a previously coordinated roof lining. Record that change and have the affected detail reviewed before installation. A small electrical decision can require coordination with the enclosure strategy. The example does not prescribe a lighting system or a method for sealing a particular roof.
Keep photographs indexed to the drawing locations and revision. A folder of close-up images without context is difficult to interpret later. Pair the record with the final equipment routes and maintenance access information. This gives the owner useful evidence of what was installed while preserving the distinction between an installation record, a product test and a measured energy-performance result.
FAQ: A-frame roof insulation decisions
Is the thickest insulation always the best choice?
No. Select a professionally reviewed assembly that meets the destination brief and can be installed correctly. Thickness affects internal clearance and interfaces, while material properties alone do not establish roof performance. Compare the complete build-up, moisture strategy, fire requirements and junction details rather than one product dimension.
Can insulation be fitted between existing A-frame rafters?
That depends on the retained construction, available depth, moisture strategy and required performance. A survey and design review should establish what is possible. Do not assume that filling the visible gaps is a complete solution. Eaves, ridge, openings and any required roof cavity need coordinated details and verification.
Should I ventilate the roof cavity?
The answer depends on the approved roof assembly and local conditions. Ask the designer whether ventilation is part of the proposed strategy and how its intended path is maintained. Do not add or block openings based on a generic article. The complete moisture and weathering design must be assessed together.
Will a retrofit reduce loft space?
Internal roof layers can reduce finished headroom and alter the usable area near the slopes. Check the actual section with stairs, guards, furniture and circulation shown. A local reviewer must determine applicable requirements. Do not change structural members or assume a thinner product removes the need for that assessment.
What should an A-frame insulation inquiry include?
Provide the destination, occupancy pattern, existing or proposed roof section, known moisture issues and preferred interior finish. Include loft and service arrangements. Ask for the complete supply scope and evidence available for local review. Clearly distinguish an initial product discussion from a site-specific roof design or approval.
Conclusion: resolve the roof before approving the lining
A frame cabin insulation works as part of a coordinated roof, interior and services proposal. Establish the existing layers, climate and occupancy, then review moisture, junctions, usable headroom and acceptance evidence. A clear section and responsibility schedule make material quotations far more useful than a generic winter-package label.
Share your A-frame drawings and customer requirements with CabinWild through the inquiry form. Ask which enclosure details and product records can be supplied for review by your local designer. Confirm installation preparation and the inspection sequence before the roof is closed.
Prepare your A-frame roof specification
Share the destination, intended season of use, roof section and preferred interior finish. Ask for the supply details your local designer needs to review.
Prepared with AI assistance for CabinWild Editorial using the linked public sources. Examples are illustrative, not customer results or verified CabinWild test data. Project-specific design and local requirements need review by the appropriate professionals.